Tweak Your Borescope Skills
In the last decade or so, huge advancements in borescope technology have made these instruments more affordable and easier to use and of course, have dramatically improved their functionality and capability.
Nowadays, borescopes are widely used throughout the spectrum of industry to view objects that are not accessible for direct viewing. Applications include power generation, mining, oil & gas, aviation, aerospace, automotive, fabrication, casting, law enforcement and electronics, with these customisable instruments fulfilling a crucial inspection and quality control function throughout the entire manufacturing process.
But even though these instruments have been designed to be user-friendly with intuitive functionality, optimum results require some preparation and of course, the right operating techniques. As with all good tools, there are right ways and wrong ways to use borescopes.
Let’s draw the parallel with a camera – after all, a borescope is a specialised optical device. It’s easy to sit back and let your camera do everything because technology has advanced to such a level that modern devices appear to do all the work themselves automatically, but as every photographer knows, far better results are obtained when preparation, technique, skill and experience are involved. Learning the actual tool will help to reduce cost and time and of course, will deliver better outcomes.
Here are some tips for getting the most from your borescope:
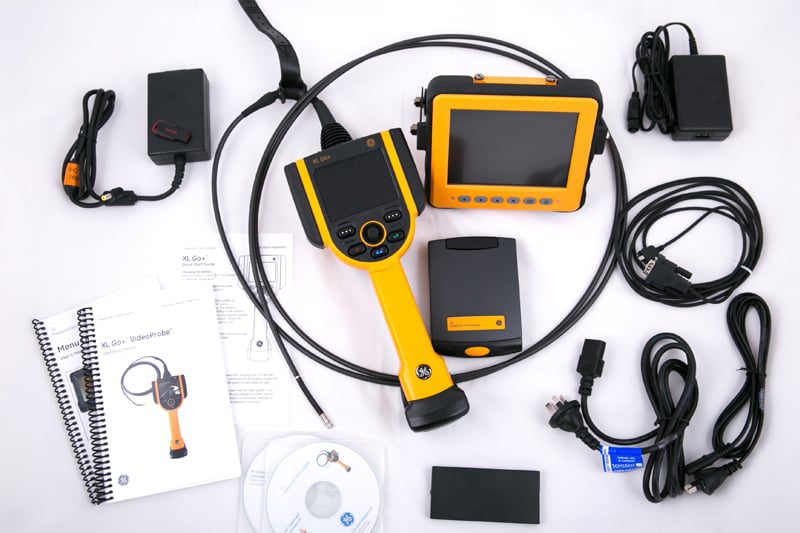
- Make sure your instrument is fit for purpose. Borescopes come in many different guises, rigid, flexible and videoscopes and they come in varying lengths, diameters and manoeuvrability so the device you are using has to be right for your specific inspection job. For optimum results, use the largest borescope that will fit the hole because generally, the larger the instrument, the better the illumination will be plus images will be sharper and clearer.
– The borescope has to fit through the smallest diameter required.
– Choose a borescope that can reach the greatest depth required, but it shouldn’t be so long as to be unwieldy.
– Take into account field-of-view, direction-of-view and magnification required.
– If the pathway of inspection isn’t linear and there are some turns to negotiate, you’ll need a flexible device.
- Prepare your instrument before you start. Check the optical tip and the probe for any damage or contamination and make sure all external parts are clean and dust-free. Even a tiny bit of dirt can adversely affect the quality of the image, so meticulous care and maintenance of your instrument is crucial.
- Turn the LEDs to full illumination at the start of your inspection. This will help you find the target area as quickly as possible and you can always decrease the levels as you go along.
- Don’t rush your inspection. Take time to get orientated inside the component before you drill down to find the target area.
- Once you have located the area of interest, you can adjust the lighting and the controls to get the best images. Remember, there is a risk of over-lighting and glare when inspecting reflective or metallic surfaces so it’s important to adjust the intensity for quality images of the area under inspection.
- Make sure there’s nothing between the borescope lens and the area being targeted. The camera will focus on the object nearest to it, so you want to make sure you aren’t missing anything or capturing a ‘false alarm’!
- Use comparative measurement to get a quick estimate on the size of the defect. This is where experience counts. For example, if you pick up a crack in the component, you can do a quick comparison between the length of the crack and another known entity in that same component.
- Movement can compromise the quality of the image or video. A good way of stabilising the borescope and prevent your hand from shaking is to rest the hand holding the device on a solid surface. The component under test should also be kept as steady as possible to ensure optimum image quality.
- When you see something of interest, take at least three pictures. Make this a habit to ensure that you will always get one image that will be suitable for your needs. And if you’re in any doubt, take a picture. It’s a lot better to delete an image than to have to repeat the process to locate the area in question for a second opinion.
- Be patient and insert the probe slowly and carefully into the component. If you rush things, you may miss critical visuals and risk damaging the instrument itself. Also, never force the working length in or out of a component as you may damage it.
- Inspection photos or video are only really useful when supported by proper documentation, so make sure your stay up-to-date with the labelling, filing and storing of your images.
- Don’t skip any training opportunities.
- It sounds obvious, but make sure the battery is fully charged before you start your inspection.
Borescopes are powerful, and indeed essential, assets in many inspection programmes and by following best practices with these devices, you can accumulate high quality images or video that will save time and money and enable you to make confident quality assurance, safety, maintenance and performance decisions.
Nexxis offers a range of high quality borescopes and videoscopes as part of their extensive array of technical equipment for sale or lease – but this industry specialist is more than just an equipment supplier. If you want qualified, genuine advice about finding the best solution for your operation’s specific inspection and non destructive testing needs – a solution that is tailored to adapt to your changing requirements – you should get in contact with them on 08 9418 4952 or via their website, nexxis.com.au.
