How to get the most out of your wire ropes
Wire rope flaw detection is a proven technology that can deliver fast and accurate quantitative results.
Proven Technology
Wire rope flaw detection is a proven technology that can deliver fast (up to 4m/s) and accurate quantitative results that when used correctly can determine the life and condition of a wire rope that is subject to corrosion, abrasion, and fatigue.
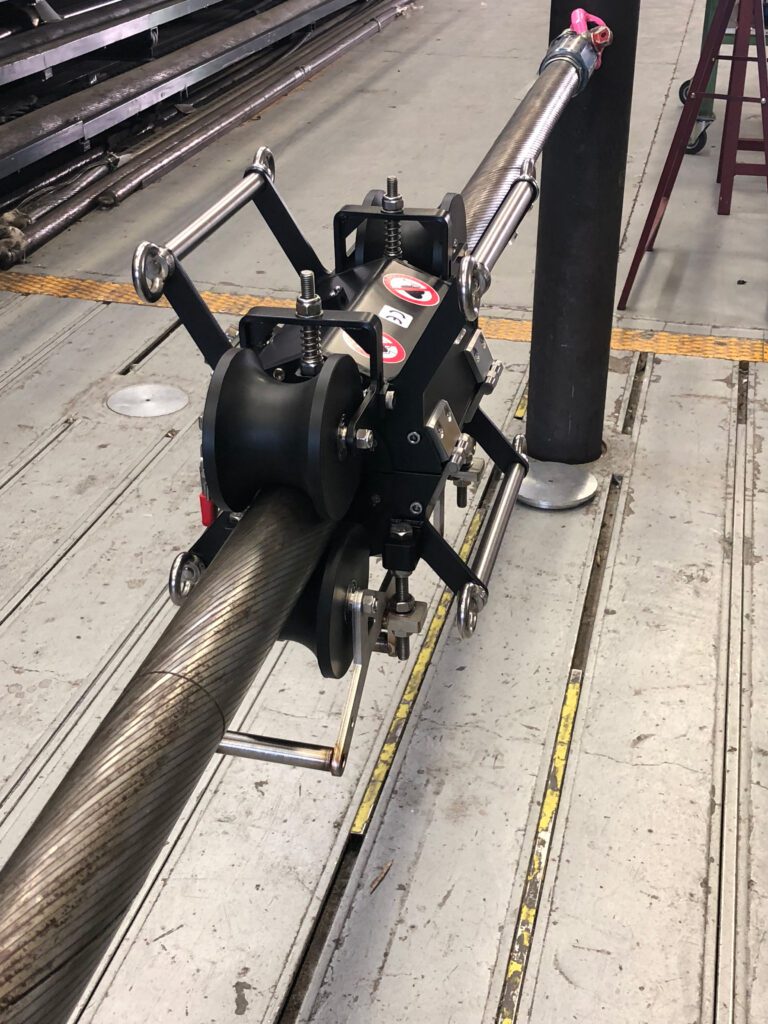
It is designed for inspection of the round, flat and steel-rubber flat wire ropes in a wide range of applications such as mining, cranes and heavy lifting onshore and offshore, cableways, cable bridges, elevators, guy ropes of flare stacks and masts, overhead transmission lines.
The dual-function technology, Loss of Metallic Area (LMA) measurement and detection of the Localized Flaws (LF), allows the inspector to make better and faster decisions regarding the wire rope operation condition bearing in mind the retirement criteria. The method is following the requirements of several international standards including ISO 4309:2017, ASTM E1571-11(2016) and EN 12927.
Wire rope scanner system is fully digitalized and simple to operate with minimum rope preparation requirements, as readings are not affected by grease, paint, icing or lubricating materials, which can have significant cost savings directly to the bottom-line cost, as well as reduced downtime in production. The wire rope inspection will have the benefit of increased safety due to more frequent inspection schedules.
Methodology
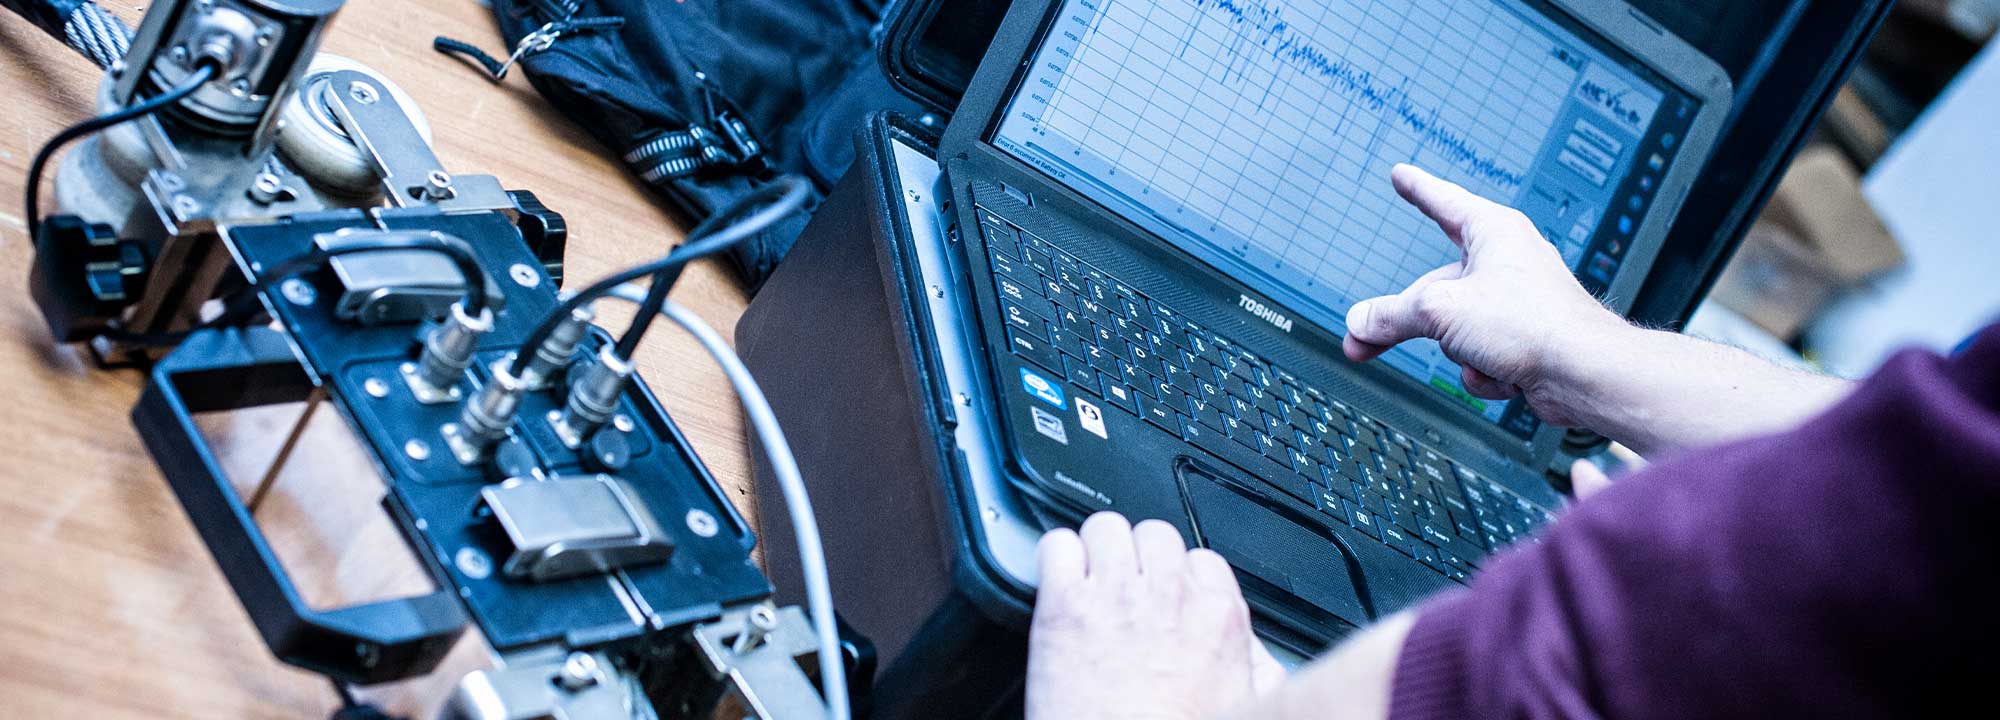
The technology is based on magnetic flux leakage (MFL). The rope portion inside the magnetic head is magnetically saturated with strong rare earth magnets in the longitudinal direction. The magnetic field above the rope surface (flux leakage) remains uniform whilst the rope contains no irregularities. Coils and/or Hall Effect sensors surround the rope and pick up the signal, which is of a constant value. When there are changes in ferrous cross-section of the rope or broken wires occur, the magnetic field is distorted, and flux leakage increases. These irregularities register by creating a signal in the sensors.
Signals from the sensors are transmitted to an external basic unit for storage and further processing. The data include LF and LMA traces, plus traces from each individual sensor, speed, etc. The system automatically generates a report on-site. After a thorough evaluation of the traces, the operator may issue a detailed report according to ISO 4309:2017.
If you’re interested in learning more about wire rope testing or other NDT techniques please contact one of dedicated Solutions Engineers or visit Nexxis’ range of wipe rope solutions.

