Tips & Tricks: Laser Alignment and Measurement Overview
If you haven’t seen our series of Tips & Tricks for the Easy Laser measurement and alignment system, we’ve summarized it here for you. We hope this helps to streamline your measurement or alignment procedures.
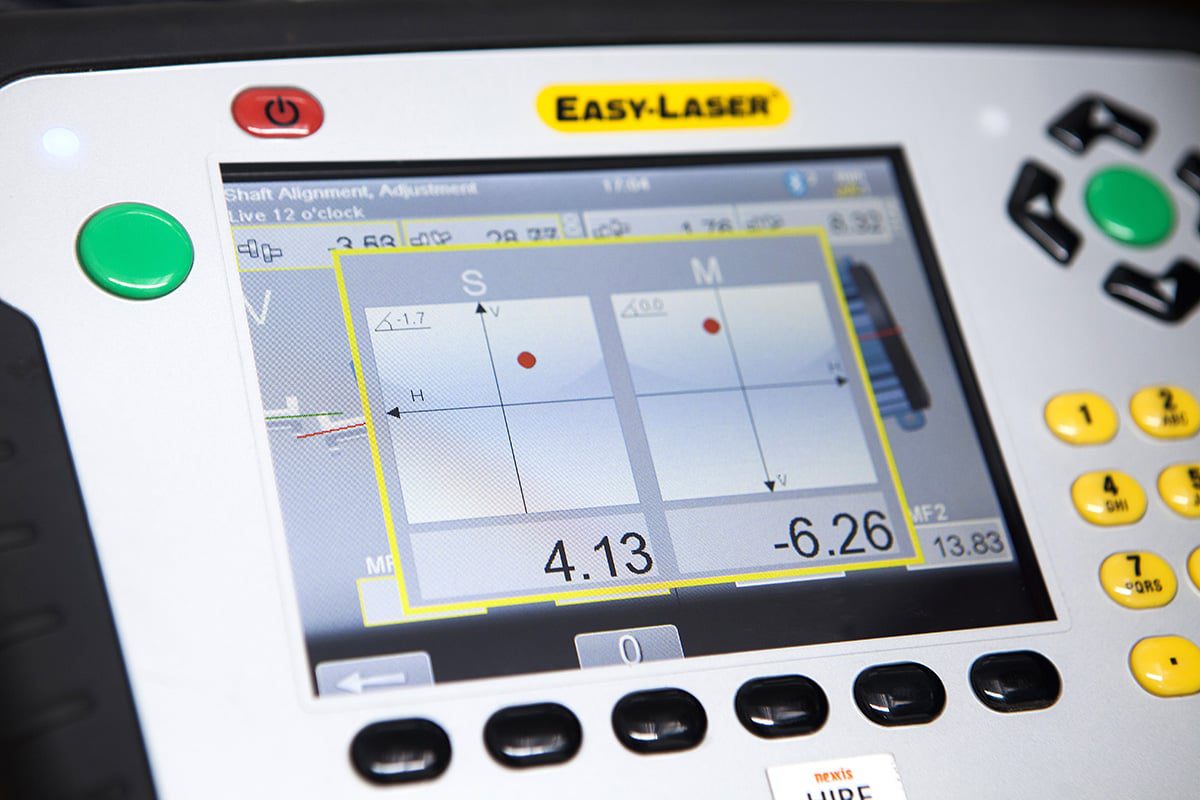
Are you a new user of the E-Series Laser Measurement system? You have a lot to gain in both time and money having your machines aligned to the correct tolerances.
Save Time and Money for your company
Typical issues arising from poor machine alignment are:
- Lost production time
- Leaking seals
- Increased vibration levels,
- Higher energy consumption
- Bearing failure
- Shaft breakage
- Coupling wear
- Quality problems
- Noisy or disrupted work environment
An investment in a laser measuring or alignment procedure improves equipment efficiency and reduces downtime by prolonging the life of your machines. Tips and tricks often help your measurement process run much faster and more efficiently. Here’s a few to get you started:
Tip #1: Show Targets in the Result view
When measuring shaft alignment it can sometimes be useful to show the electronic targets in the result view. By doing this you can actually see where the laser beams hit the PSD area.
This is what you should do:
- Press the double arrow key (showing under the display)
- Choose the target icon
- Use the arrow keys to close when done

Tip #2: Make a Screenshot
It’s possible to make a screenshot of what’s showing on your screen. Screenshots can be used for support, sent by email or pasted into a test report.
This is what you should do:
- Press and hold the numeric button ”period” [.] for five seconds. An hour glass is displayed on the status bar and the screen dump is saved in the file system as a .jpg image. It is named with current date and time.
- In the main menu, select the folder button to open saved files.
Tip #3: Use a Measuring Unit as a Separate Detector
When using measuring units in the Easy-Laser® E710 system as separate detectors for geometric measurement together with a laser transmitter (D22 for example), you might need to turn the Bluetooth®-connection off for one of them. Otherwise the system will keep on looking for the other one, which normally is supposed to be connected prior to measuring.
This is what you should do:
- Attach the Bluetooth® unit to the measuring unit
- In the control panel, select Bluetooth® settings
- Set the Bluetooth® unit you want to use to “Auto connect: Yes”
- Make sure that the other units are set to “Auto connect: No”
- Enter a measuring program
Now the display unit will connect to the selected unit. This may take a few minutes. If the system is used primarily for shaft alignment, make sure to reset the Bluetooth® to “Auto connect” again after finishing the geometric measurement.
Tip #4: Exit the Measurement Program
If you quickly want to exit measurement program and return to the main menu you should hold down the left arrow key under the display for a few of seconds. This will cancel the program. Note that anything showing on the screen will not be saved.
Tip #5: Set your Language
Icons are all very well, but often an explanatory text is necessary – preferably in your own language! In the Easy-Laser® system you can choose between English, German, French, Spanish, Portuguese, Swedish, Finnish, Russian, Dutch, Korean, Chinese today and more languages to follow. To set your language open the control panel, press the globe icon and choose your language.
Tip #6: Embedded Calculator
In the display unit there’s a calculator available, which can be used to calculate for example shim thickness. You will find it at the bottom of the Main Menu or in the control panel when you’re in a measuring program. The calculator icon looks just like a small calculator.
Tip #7: Rotate the Detector Coordinate System
In some cases of geometrical measurements with 2 axis measuring units and detectors, it may be impossible to place the detector correctly. In these cases, the coordinate system can be rotated 90°, so that the x- and y-axis change places. When rotated like this, a warning icon will be displayed in the status bar to remind you of this setting.
Tip #8: Get Access to new Software
If you regularly plug in the display unit to the EasyLink™ version 3 on your PC, you will automatically find out if there is a newer Firmware-version available for installation. In this way you’ve always got access to the latest version of the software in your display unit, and in some cases, newly developed measurement programs, if made available.
We hope these Tips & Tricks will help you run your laser measurement and alignment procedures with more efficiency and ease. If you have any questions or suggestions, don’t hesitate to get in touch with our Operations Specialists at [email protected] or call the office on +61 8 9418 4952.
