Camera Facts: What’s the best way to deal with low light?
With the majority of remote visual inspection (RVI) being conducted in low light situations, it’s important to know how to get the best out of your camera system. Regardless of the brand or type of camera you are using, here are a few simple steps to help you get better results:
Light: It sounds silly, but the best way to get a better result is to add more light. This might mean additional lighting on your robotic crawler, or looking at ways of inserting lighting into a tank or vessel. Don’t worry, if you can’t get more light in there, we have more options before you need to panic.
Aperture: Make sure your aperture is wide open. That means an f-stop number that is low like 5.6 or 2.0. Different lenses and brands will have different levels of aperture available. Generally the more expensive lenses offer a wider aperture range. Not all camera systems offer an aperture adjustment, opting to adjust it automatically in the camera. If that’s the case, you may have alternative adjustments to work with.
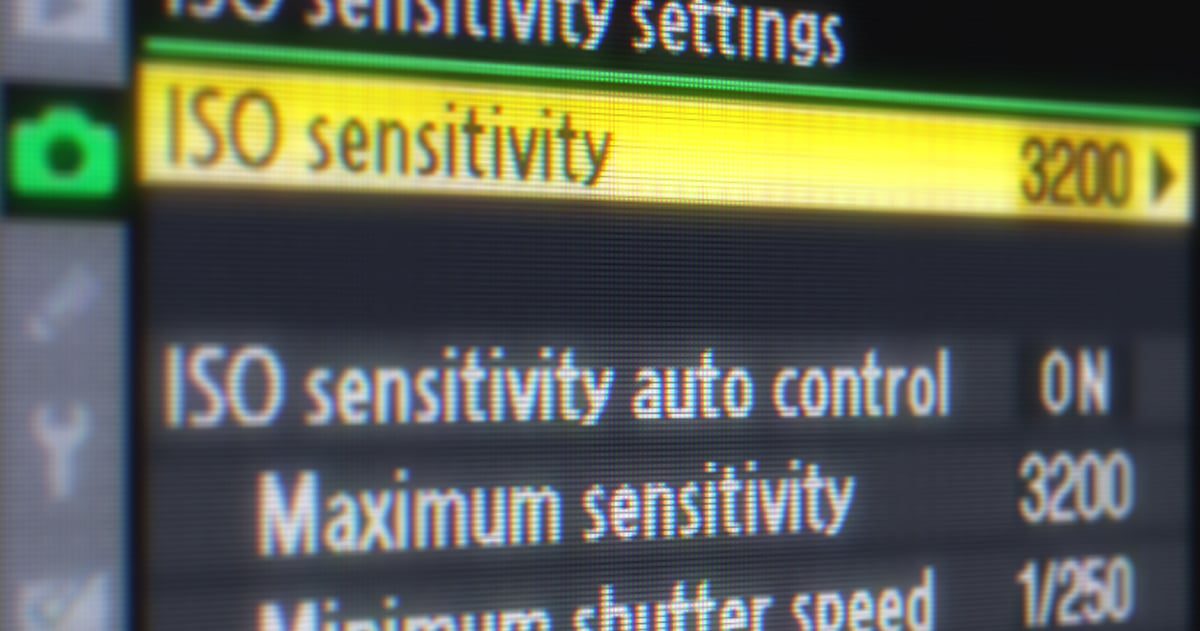
ISO: Adjusting the ISO will allow you to electronically boost the brightness or susceptibility of your sensor to light. In extremely low light conditions, your ISO setting will be high. Not all cameras will offer an adjustment of the ISO and may do it automatically. The con of using a high ISO setting is that your image will have more noise or grain.
Gain: Gain is another way of electronically boosting the brightness of your image. Your camera will do this by increasing the voltage to the pixels on the sensor. Like increasing your ISO, the downside of increasing the gain setting on your camera is an increase in image noise or grain. It will be up to the inspector to determine what is an acceptable amount of noise in the image. Provided the target of your inspection is able to be clearly identified, it isn’t really important if your image is overly noisy or grainy.
Shutter Speed: Reducing the shutter speed of your camera can increase the amount of light the sensor is able to receive. The less amount of time the shutter is effectively blocking the sensor, the brighter your image will be. The downside is that when the shutter becomes too slow (i.e. 1/50 or lower) the image can begin to skew or blur depending on camera movement or subject movement. Not all camera systems will give you the ability to adjust the shutter.
Frame Rate: Like the shutter speed, reducing the frame rate will allow more light to get onto each frame. A frame rate lower than 1/24th of a second can begin to cause image problems however, much in the same way as a slow shutter speed.
Focus: If your camera has an autofocus, this can sometimes cause issues in low-light. Not only can the camera have difficulty achieving a consistent focus, often time it will focus on the wrong subject, causing other automated function to increase or decrease, thereby giving you a less than optimal result for the subject you intend to expose for. Problems with autofocus often occur in environments where there are dust or other particles floating freely in front of the camera. These can distract the autofocus function. If you can set your camera to manual focus, it may be helpful to do so in these circumstances, giving you the ability to determine the correct subject focus and adjust other settings accordingly.
Running through the above settings methodically can help drastically improve image or video quality in low-light conditions. Before you go ordering a different camera system, try adjusting as many of the settings listed above first.
