Roughing in for Alignment of Long Spans

Roughing in for Alignment of Long Spans
Most Fixturlaser alignment tools have detectors in the sensors that can measure a change of position up to 30mm (over 1 inch). In most instances, this is more than enough to measure even severe misalignment. However on long spans, if the misalignment is severe, the machines may need to be roughed in before precision alignment can take place.
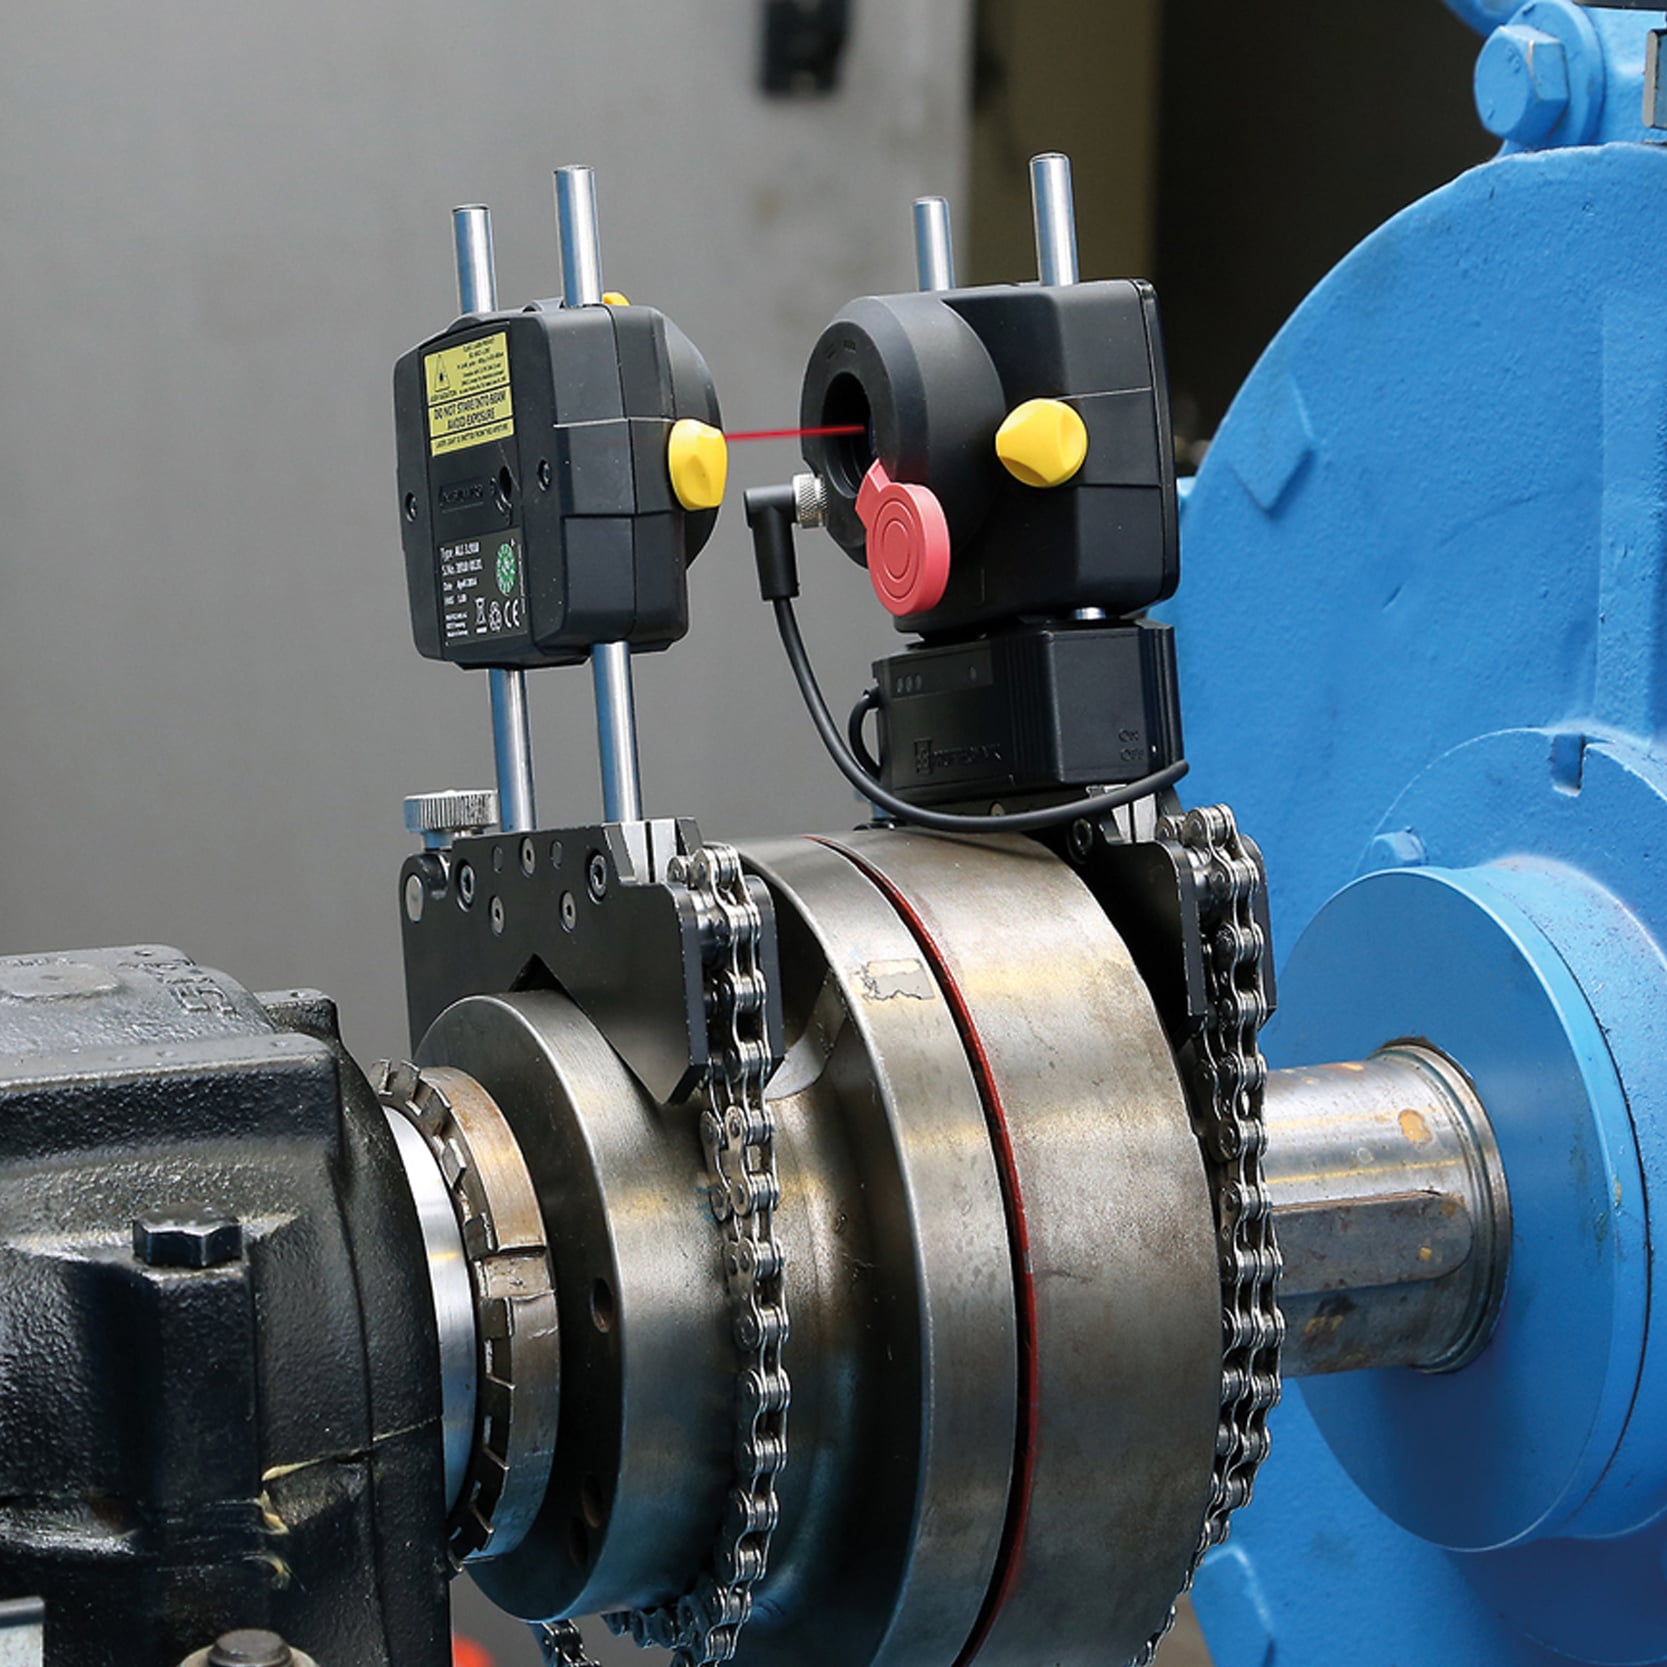
Step 1 – Mount the alignment tool, and start the horizontal shaft alignment application. Adjust the laser beams until both the M and S laser beams are centered into the opposite detector. If both beams cannot be centered at once:
- Move the M sensor up or down on the rods until the laser beam is centered onto the M detector face.
- Use the adjusting screw on top of the M sensor to center the laser beam onto the S detector face. Use the wing nut to lock it in place.
Step 2 – Rotate the shafts 180 degrees, so that both laser transmitters are on the bottom (6 o’clock). Look at the M sensor detector and measure how far the beam has moved from where you centered it.
Step 3 – Shim the entire motor up or down ½ the distance the beam has moved. As an example, if the beam is ¾” from the center of the detector, shim the motor 3/8” (.375”) under all four motor feet. This will move the motor, and the M sensor mounted on it, to where the S laser beam is halfway back to the center of the M sensor’s detector. Once this initial shimming is complete, rotate the shafts back to the 12:00 position, and re-center both beams.
This process brings the driver into rough parallel alignment with the driven machine.
Step 4 – Once both laser beams have been re-centered, rotate the shafts back to the 6:00 position. Note the distance the laser beam striking the S detector has moved, and adjust by shimming either the inboard or outboard motor feet until the laser beam striking the S sensor detector is ½ way back to center. This brings the driver into rough angular alignment with the driven machine.
Rotate back to 12:00, re-center both beams, and rotate back to 6:00 to make sure the laser beams stay within the detectors. This process can also be used to rough in the horizontal alignment, using the 3:00 and 9:00 positions. Correct by using either 3:00 or 9:00 as your reference.
This procedure will help you rough in severely misaligned machines over long spans, thus allowing the laser beams to stay with the sensor detectors throughout the precision shaft alignment process.


