The Perfect Square: Accurate Squareness Measurement

In order to prevent premature wear and tear on machinery and to ensure optimum product quality, it is crucial that the geometry of the machinery is measured correctly.
Geometric errors can have a significant negative effect on total machine accuracy and will result in impaired operating efficiencies and less-than-perfect parts.
Ensuring the correct geometry of a machine involves measuring straightness and squareness. For example, a machine may start to rock and shake when it’s not sitting flat on its base and these vibrations may distort and stress the machine’s frame. This can result in misalignment problems, premature failure of bearings and ball screws and possibly even more serious damage to the machine. Importantly though, it will lead to the production of sub-standard parts.
Regular checking of machine geometry is imperative in order to prolong the life of the asset and ensure that the parts that are produced are within prescribed tolerances and quality standards.
How is squareness measured?
Squareness should be measured once straightness has been calculated. It’s imperative to do this regularly as part of a preventative maintenance programme, after a machine has been repaired or serviced or when it is being recalibrated. The best way of ensuring accurate machine geometry is by using a laser alignment tool which is quick and easy but also highly accurate and reliable.

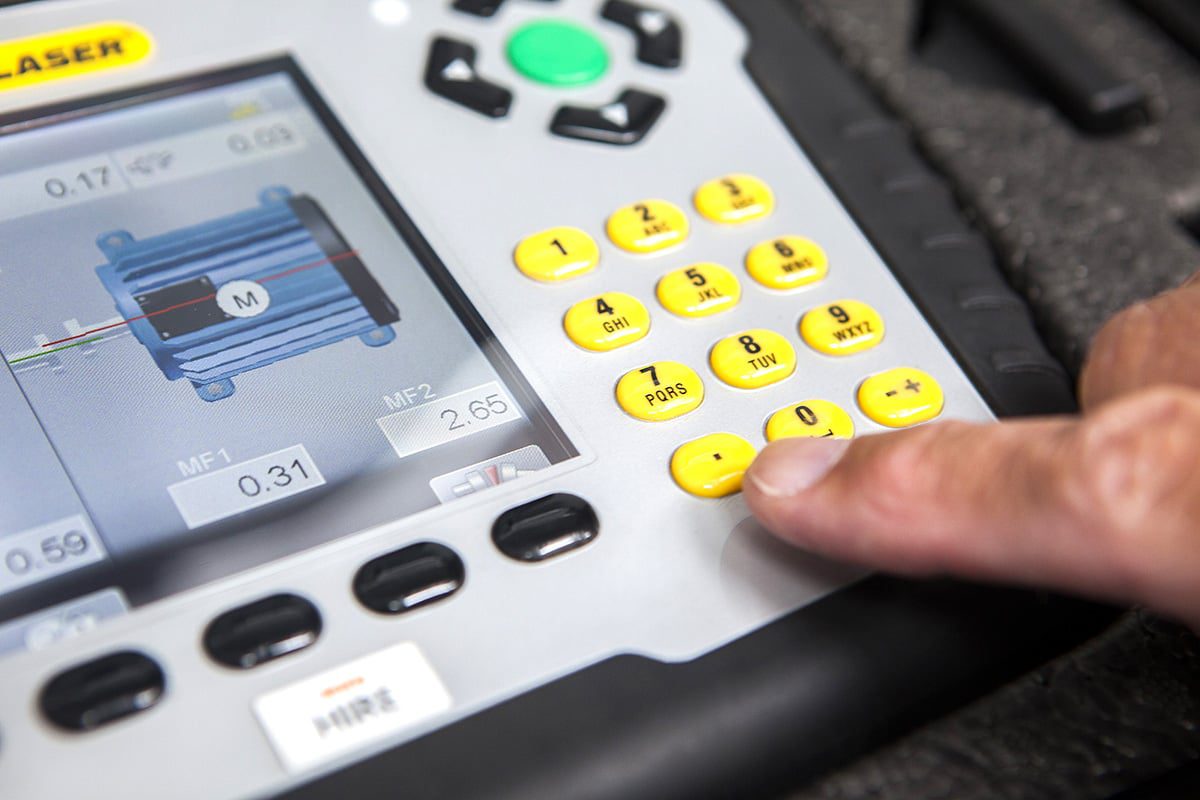
With Easy Laser E710 you can rest assured your machinery is precisely aligned, operating at maximum efficiency. Optimal machine alignment eliminates downtime saving you time and money on operations. You’ll also be saving on easily avoidable machine repair and saving big money on energy costs.
What are the benefits of laser alignment?
Measuring straightness and squareness using conventional methods such as dial gauges can be time-consuming and challenging. These methods require visual checking of the various planes one-by-one using different tools for different sized machines, doing complicated manual calculations and writing all the measurements down by hand. In contrast, determining the true squareness of machinery using a laser alignment tool enables precision accuracy in a much faster, simpler and user-friendly way.
If I wanted to measure squareness accurately, how would I do it with a laser tool?
Once straightness has been measured, you can then measure squareness. You would use the laser alignment tool to record two measurement values from a single source in order to obtain a reference point for the angle. You would then use it to record two values on the second object after which the instrument will calculate if there is any deviation using its built-in prism in the laser transmitter which deflects the beam to a ninety degree angle.
It is possible to obtain an even higher degree of accuracy when measuring squareness (suitable for measuring plumb or for measuring squareness in relation to two points on a reference plane) by indexing the laser transmitter to 180o.
A laser alignment system is a non-negotiable when speed and accuracy are paramount. It will enable optimum manufacturing efficiencies and quality of outputs, and is an extremely useful tool in preventing wear and tear on equipment. If your operation could benefit from having true squareness determined quickly, easily and precisely, talk to Nexxis about our range of high-performance laser alignment tools.
