Case Study: Assessing Pipework for Weld integrity and Corrosion
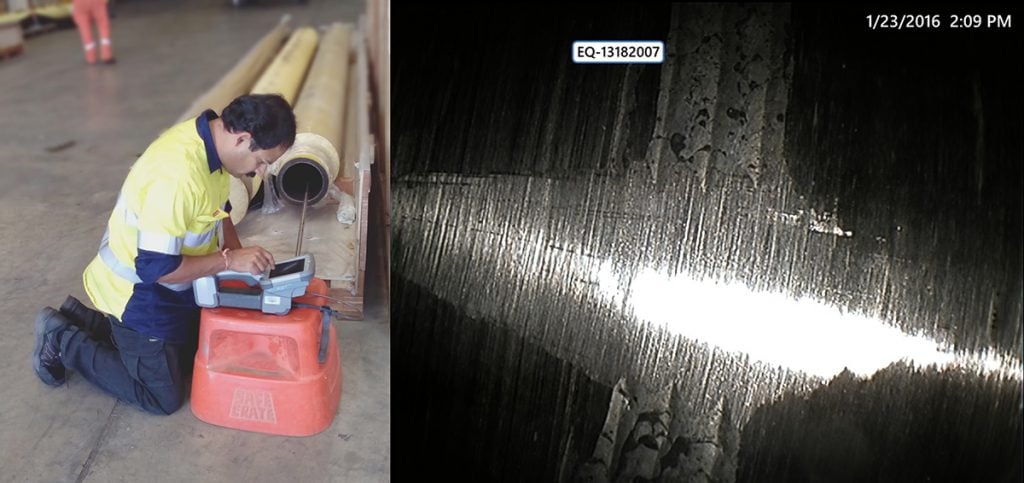
Our operations specialist inspected the interior of the pipe for corrosion and the weld seams for damage or imperfections.
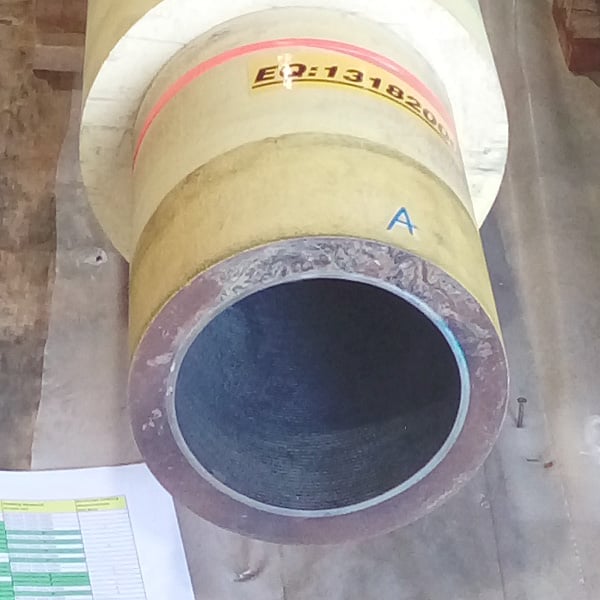
One of our clients recently asked us to make an inspection of the welds on pipework with clad insulation. The challenge with inspecting pipework that has clad insulation (see below) is that it must be conducted internally. Using the Mentor IQ video borescope, our operations specialist inspected the interior of the pipe for corrosion and the weld seams for damage or imperfections.
Often the first time you find out about a damaged component is when it fails. Maintaining a regular inspection program is important as it allows the inspector to become familiar with what is normal ‘wear-and-tear’ and what might be a serious flaw.
Corrosion can be a risk in pipework when the difference in composition of the base metal and the weld metal creates a galvanic cell – accelerating corrosion. Fortunately, the failure rate of pipework due to weld or seam corrosion is extremely low – and can be eliminated completely with a simple and regular visual inspection program.
When you do notice an imperfection or something out of the ordinary during your inspection, it’s necessary to quantify it as precisely as possible. This is where a video borescope like the Mentor Visual iQ allows inspection precision, ease of use and accurate reporting features that streamline the inspection process.
As you can see in the image above, the Mentor Visual IQ provides a very clear image that can be saved and added to your report.
It was clear at the first weld that there was little or no corrosion, and this proved to be the pattern along the entire length of the pipe.
There are always multiple inspection equipment options; in this case, the Mentor Visual IQ was a perfect fit for the inspection requirements, providing still image, video and illumination – as well as the ability to traverse the length of the pipe. If the client had required a more detailed analysis of the welds, 3D Stereo measurement is always an option.

